Coffee, Tea, and Beverage Appliances: Choose Your Setup
The right beverage setup depends on what you drink, how many servings you make, and how much work you want to do. Coffee brewing, espresso extraction, grinding, water heating, tea steeping, carbonation, and chilled draft dispensing are different jobs. Some appliances combine them, while others work best as part of a small set of compatible equipment.
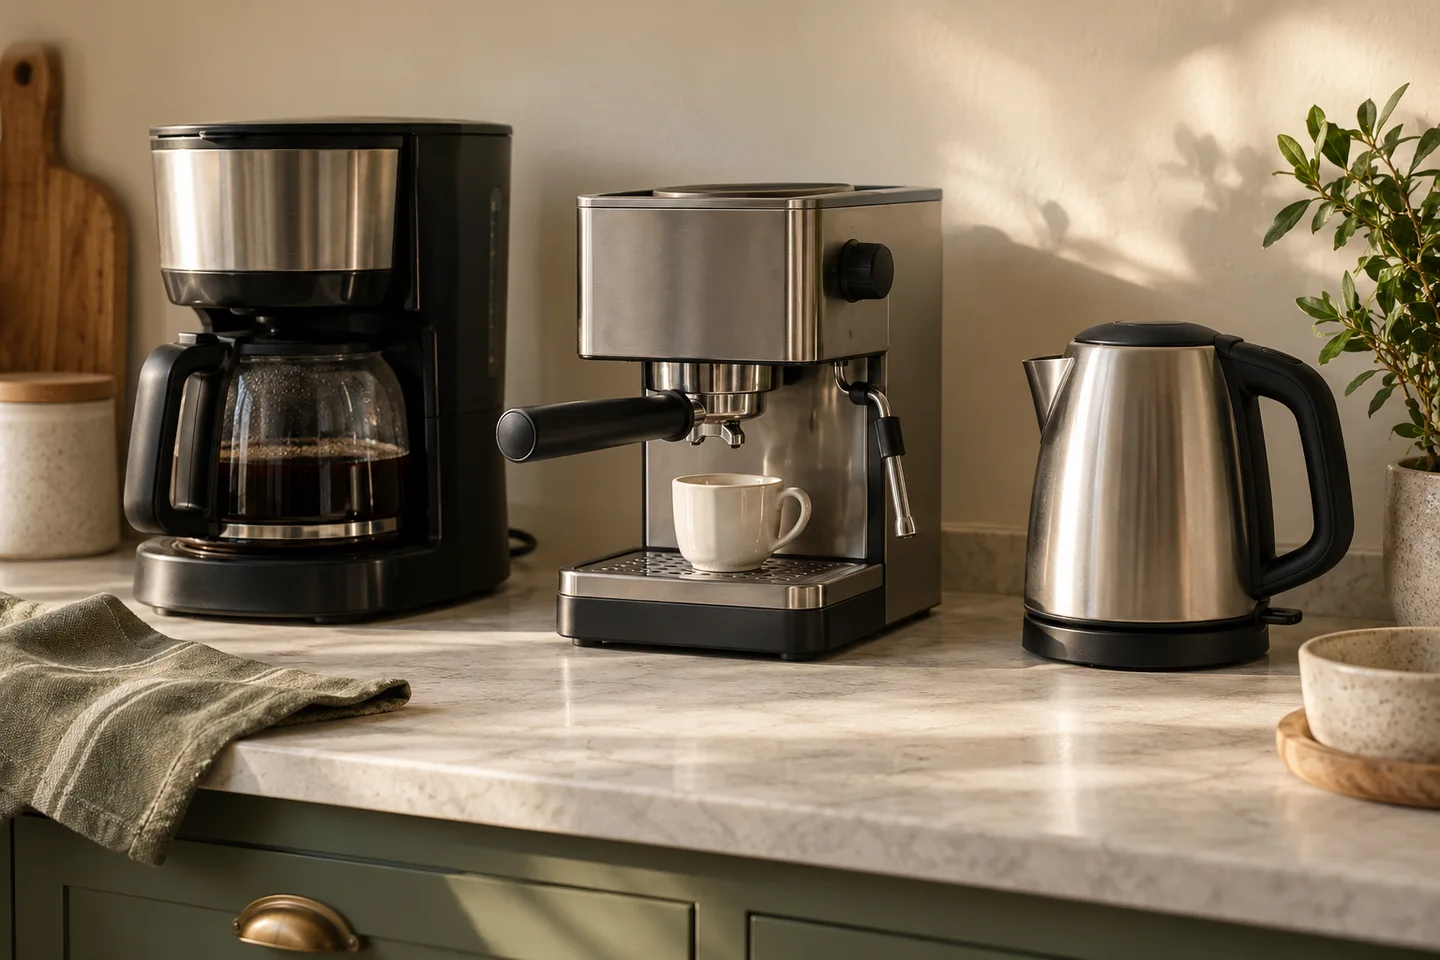
Start with the drink, not the appliance
Choose the main device by the beverage you actually prepare. An automatic drip brewer makes filter coffee, while an espresso machine makes concentrated coffee for straight shots and espresso-based milk drinks. A standard electric kettle heats water but does not steep tea on its own. A soda maker adds carbon dioxide to water in an approved bottle; a kegerator chills and dispenses kegged beverages. The right combination depends on serving volume, preparation time, and any separate parts the drink requires.
| Drink or routine | Starting setup | Other equipment or supplies to account for | Main decision |
|---|---|---|---|
| Several cups of filter coffee | Automatic drip coffee maker | Ground coffee, a compatible filter, and a carafe | Batch capacity and how brewed coffee is held |
| One cup of brewed coffee | Single-serve brewer or manual pour-over setup | Compatible pods or ground coffee; a kettle for manual pour-over | Push-button preparation versus hands-on brewing and consumables |
| Espresso or milk-based espresso drinks | Espresso machine | Suitable coffee; a grinder if needed; steaming or frothing equipment for milk drinks | Manual involvement versus integrated automation |
| Loose-leaf tea | Kettle and infuser, or an automatic tea maker | Tea basket or infuser if not integrated | Water-temperature control versus automatic steeping |
| Cold-brew coffee | Cold-brew vessel or dedicated cold-brew device | Coffee grounds, filtration, and suitable storage | Advance preparation and available refrigerator space |
| Sparkling water | Home carbonation device | Compatible CO2 cylinder and pressure-rated carbonating bottle | Cylinder and bottle compatibility |
| Kegged draft beverages | Kegerator or compatible refrigerated draft setup | Fitting keg, coupler, regulator, gas supply, beverage lines, and tap | Space, connection compatibility, and cleaning commitment |
Decide what should be integrated
An all-in-one appliance can remove steps from the routine, but the functions need to be real. Some coffee systems grind beans or froth milk internally; others need a separate grinder or milk tool. An automatic tea maker combines water heating and steeping, while a basic kettle only heats water. Check the functions and included components, not just the number of drinks named on the controls.
Account for the work after each drink
- Serving volume: Match the usable brew batch, kettle fill, bottle volume, or draft capacity to how much you regularly serve.
- Hands-on time: Manual pouring and espresso preparation offer direct control; automated cycles reduce the number of steps you perform.
- Ongoing supplies: Include filters, compatible capsules, carbonation cylinders, cleaning products, and any replacement bottles or seals used by the system.
- Cleanup: Coffee grounds, milk-contact parts, tea baskets, carbonating bottles, and draft lines have different cleaning needs. A convenient brewing cycle does not necessarily mean a quick cleanup.
Coffee makers and the different ways to brew
For brewed coffee, the useful distinctions are how water contacts the grounds, how much of the process is automated, and how much coffee the method prepares. Automatic drip brewers handle the flow of hot water through a filter. Single-serve machines prepare portions using compatible coffee formats. Pour-over and immersion brewers put timing and technique in your hands. Traditional cold brew extracts coffee with room-temperature or cooler water. Espresso is a separate extraction method with its own equipment requirements.
| Brewing method | How it works | What you do | Main point to check |
|---|---|---|---|
| Automatic drip | A machine sends heated water through coffee grounds in a filter | Add water and coffee, then start a brew cycle | Usable batch range, filter format, and carafe type |
| Single-serve machine | A machine brews a portion from a supported capsule, pod, or ground-coffee holder | Load the supported coffee format and select the serving | Coffee-format compatibility and available serving volumes |
| Manual pour-over | You direct hot water through grounds held in a filter | Control the pour and brewing pace | Kettle control, filter fit, and brewer capacity |
| French press or other immersion brewer | Grounds remain in hot water before the brew is separated from them | Measure, steep, and separate the coffee | Filtration, sediment, and cleaning the vessel |
| Cold brew | Coffee grounds contact room-temperature or cooler water, then are filtered | Prepare the batch and allow for extraction and storage | Preparation time, filtration, and storage capacity |
Automatic drip or single-serve?
An automatic drip machine is a natural fit when several people drink filter coffee at roughly the same time. A single-serve machine suits drinks prepared one after another, especially when users want different portions or coffee choices. Neither format guarantees a particular serving size or brewing quality.
- For drip machines: Check the smallest and largest practical batch, the specified filter shape, and whether the carafe is insulated or the machine uses a warming plate.
- For single-serve machines: Check the exact capsule or pod system. Coffee capsules are not universally interchangeable. Some machines accept refillable holders for ground coffee, while others do not.
Manual brewing changes who controls the extraction
Pour-over uses a filter like automatic drip brewing, but you control where and how quickly the hot water is poured. A French press instead immerses grounds in water and uses a mesh plunger to separate much of the coffee from the grounds. Both methods can work without an electric coffee maker, although they still need a source of hot water.
Choose by the process you prefer: controlled pouring and a filtered cup, or immersion brewing with a different filtration method. Check the amount of coffee the vessel holds and how easily its filter or mesh can be cleaned.
Cold brew is not the same as iced coffee
Cold brew refers to extraction using room-temperature or cooler water. Traditional immersion methods often need advance preparation, while dedicated powered devices may use different, shorter extraction processes. Iced coffee generally means coffee brewed hot and then cooled for serving. Either can be served over ice, so serving temperature alone does not identify the method.
A dedicated cold-brew appliance is not essential for traditional immersion brewing. A suitable food-safe vessel and a workable filtration method can be enough. Decide whether an integrated filter, easier dispensing, or a powered process solves a real preparation problem before adding another machine.
Espresso machines and milk-drink workflows
Espresso is brewed by forcing heated water under pressure through finely ground coffee. The central choice is how much of the process you want to control: generating pressure, preparing the coffee, starting and stopping extraction, and handling milk. Manual lever, semi-automatic, automatic, and superautomatic machines divide those tasks differently. The labels are not perfectly consistent across manufacturers, so compare the actions a machine actually performs.
| Machine type | What the machine handles | What you handle | Best fit for the routine |
|---|---|---|---|
| Manual lever | Provides a mechanism for generating extraction pressure | Applying or controlling pressure, timing, and usually preparing the coffee | Hands-on espresso preparation and pressure control |
| Semi-automatic pump | Generates brewing pressure | Dosing and preparing coffee, starting and ending the shot | Direct control over extraction without manually creating pressure |
| Automatic pump | Generates pressure and stops extraction using a programmed setting | Usually preparing the coffee and starting the shot | Portafilter-style espresso with less attention to shot stopping |
| Superautomatic or bean-to-cup | Integrates grinding, dosing, and brewing in an internal system | Refilling supplies, choosing settings, emptying waste, and cleaning | Frequent espresso drinks with fewer preparation steps |
These are workflow categories, not quality grades. An automatic shot stop does not necessarily include a grinder, and a bean-to-cup system does not necessarily prepare textured milk.
Milk drinks require a second capability
A latte or cappuccino needs prepared milk in addition to espresso. Check whether the chosen setup can heat and texture milk in the way you prefer.
| Milk system | How it works | Main tradeoff |
|---|---|---|
| Manual steam wand | Steam heats and aerates milk while you position a pitcher | Direct control, but technique and cleanup are hands-on |
| Automatic milk system | A built-in mechanism textures and dispenses milk using its supported container or tubing | Fewer preparation steps, but milk-contact parts require careful cleaning |
| Separate electric frother | A stand-alone device aerates milk and may also heat it | Works independently of the espresso machine, but texture and heating functions vary |
An integrated grinder, automatic shot control, and automatic milk preparation are three separate features. Verify each one rather than assuming that an appliance described as "automatic" includes all three.
Match the full routine, not just the espresso shot
- Mostly straight espresso: Focus on how the machine prepares the coffee and how much extraction control you want. Milk automation may add no value to this routine.
- Occasional cappuccinos or lattes: A steam wand or separate frother may cover the milk step if you are comfortable preparing it yourself.
- Several milk drinks in succession: Check the machine's transition between brewing and steaming, whether it can perform both functions without waiting, and how much milk-system cleaning follows.
- Push-button daily drinks: A bean-to-cup system with a suitable milk function can combine more steps, but it still needs water, coffee, waste removal, and maintenance.
For a portafilter-based setup, also account for an espresso-suitable grind, a tamper when required, and space to prepare and dispose of the coffee puck. A built-in grinder changes the equipment list; it does not remove the need to match the grind to the brewing system.
Coffee grinders and grind control
A separate grinder is useful when you brew from whole beans and your coffee maker does not already grind them. For deliberate control over grind size, a burr grinder is generally the better starting point, particularly for espresso. Blade grinders can break up coffee beans, but their spinning blades produce a less controlled mix of particle sizes. The decisive specification is whether a grinder can produce and adjust the grind your brewing method needs, not simply how many settings are advertised.
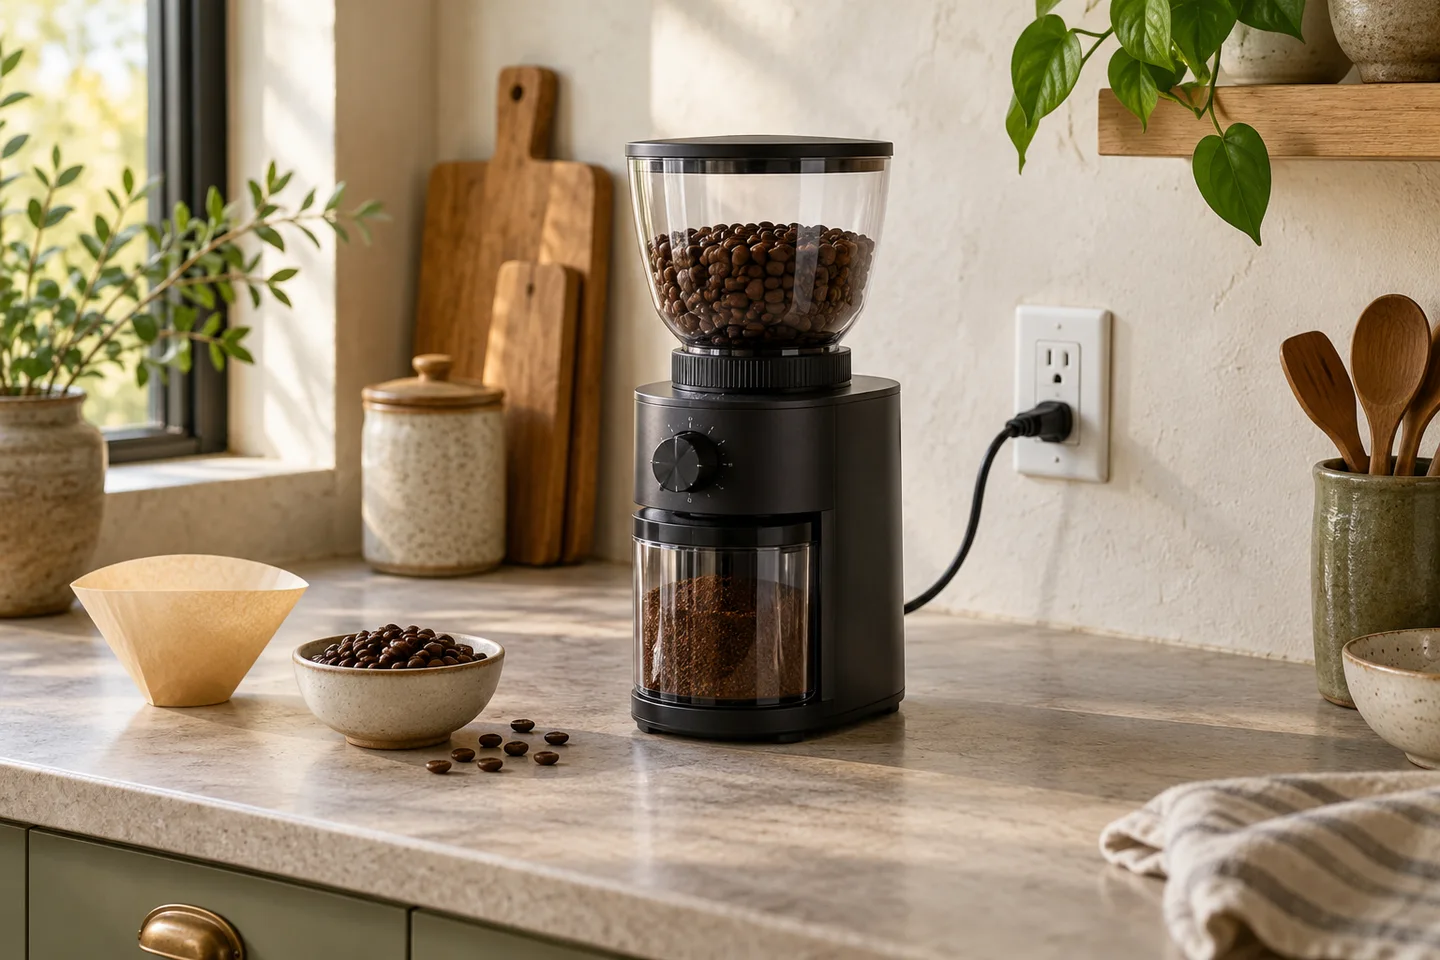
Burr and blade mechanisms
| Grinder type | How it reduces beans | Useful capability | Main limitation to check |
|---|---|---|---|
| Burr grinder | Beans pass between two grinding surfaces with an adjustable gap | More repeatable particle size and deliberate finer or coarser settings | The actual grind range and adjustment precision differ by design |
| Blade grinder | A rotating blade repeatedly chops beans in a chamber | Simple grinding when precise particle size is not essential | Running time does not provide a reliably calibrated grind size |
Burr grinders may use flat or conical grinding surfaces and either a hand crank or an electric motor. These describe construction and drive, not universal taste or performance grades. Neither burr shape alone establishes which grinder will be quieter, faster, more durable, or better for espresso.
Match the grind to the brewing method
There is no universal setting number for "medium" or "fine" across different grinders. Use the brewing method as a starting point, then adjust within the range that its filter, basket, or extraction system can handle.
| Brewing method | General starting texture | Why adjustment matters |
|---|---|---|
| Traditional espresso | Fine | Small grind changes can significantly affect water flow through the compact coffee bed |
| Automatic drip | Medium | Grind size affects extraction and how water drains through the machine's filter |
| Manual pour-over | Medium, adjusted to the dripper and filter | Flow depends on the grind, filter, and how water is poured |
| French press | Coarse | A coarser starting point suits immersion and mesh separation; finer particles can pass into the cup |
| Traditional cold brew | Coarse | A coarse starting point suits extended contact and helps with filtration afterward |
These textures are starting categories, not standardized particle-size grades. A grinder described as suitable for both espresso and filter coffee needs enough range to cover both and sufficiently fine adjustment where espresso requires it.
Check the everyday grinding workflow
- Adjustment system: Stepped settings are easy to return to; stepless adjustments permit changes between marked positions. Either can work if the usable range and precision suit the brewer.
- Dose control: A timed grind is not necessarily a measured mass of coffee. If repeatable dosing matters, check whether the grinder measures by weight or whether you will use a separate scale.
- Grounds retention: Coffee can remain in the grinding chamber or chute after dispensing. Consider access for cleaning, particularly when changing beans or grind settings.
- Separate or integrated: A built-in grinder saves a separate station, but its adjustment range still has to match the machine's brewing mechanism. Pre-ground coffee or a compatible capsule system may eliminate the need for a grinder altogether.
A larger number of grind settings does not, by itself, prove finer control. The useful question is how much the particle size changes between adjustments in the range you actually use.
Kettles and automatic tea makers
An electric kettle heats water; it does not need to brew tea to be useful for tea preparation. A basic kettle and a separate infuser cover many routines. Variable-temperature controls help when you regularly prepare drinks using different water temperatures. A gooseneck spout changes pouring control, especially for manual pour-over coffee. An automatic tea maker goes a step further by combining water heating with a timed steeping mechanism. Choose the added function you will actually use, since temperature selection, controlled pouring, and automatic infusion are different capabilities.
| Equipment | Main function | Best-suited task | What it does not necessarily include |
|---|---|---|---|
| Basic electric kettle | Heats water, typically to a boil | General hot water, tea bags, and separate infusers | Selectable temperatures or tea steeping |
| Variable-temperature kettle | Heats water to a chosen setting | Different teas and manual brewing recipes | A tea basket or automatic infusion |
| Gooseneck kettle | Directs water through a narrow spout for a controlled pour | Manual pour-over coffee or precise pouring | Variable-temperature control unless specified |
| Automatic tea maker | Heats water and manages steeping with an integrated infuser or basket | Frequent loose-leaf tea preparation with less manual timing | The same tea capacity, cleaning access, or programmability across all designs |
These features can overlap. A gooseneck kettle may also have adjustable temperatures, and a tea maker may function as a plain hot-water kettle when its infuser is removed or disabled.
When water-temperature control is useful
Different teas can call for different water temperatures and steeping times. Delicate green or white teas often use cooler water than many black teas, but the appropriate setting depends on the specific leaf and preparation instructions. A kettle with adjustable settings makes it easier to repeat a chosen temperature without manually cooling boiled water.
- Mainly boiling water: A simple kettle may be sufficient if the drinks you prepare do not depend on repeatable lower-temperature settings.
- Several kinds of tea: Adjustable temperature can help you follow the instructions for each tea rather than using the same boiling-water routine for all of them.
- Manual filter coffee: Temperature selection can support a repeatable brewing routine, but pouring technique and coffee preparation remain separate steps.
Gooseneck or standard spout?
A standard, wider spout suits general pouring into cups, mugs, and teapots. A gooseneck spout is shaped to make a slower, more directed pour easier to control over a coffee bed. The spout changes water delivery, not the kettle's temperature accuracy or the coffee's extraction by itself.
If most of your kettle use involves filling cups or a large teapot, prioritize comfortable handling and suitable capacity. If you frequently make pour-over coffee, the more controlled water flow may be worth the narrower spout.
Automatic steeping is different from keeping water warm
An automatic tea maker may lower a basket into hot water, time the infusion, and lift or otherwise separate the leaves when steeping ends. A kettle with a keep-warm function simply maintains a selected water temperature for its supported period. It does not automatically stop tea leaves from steeping in a separate pot.
Check whether the infuser is removable, whether the steeping time is adjustable, and how the tea-contact parts are cleaned. Continued heating with leaves immersed can change the strength of the tea, so the way a maker ends infusion matters as much as its temperature presets.
Capacity and safe handling
- Use the stated minimum and maximum fill marks; a large stated vessel capacity does not mean every small serving can be heated reliably.
- Verify automatic shutoff and boil-dry protection rather than assuming every kettle includes the same safeguards.
- Check lid security, handle clearance, and how steam exits during heating and pouring.
- Allow hot components to cool before removing an infuser or cleaning the appliance, and follow its instructions for mineral-scale removal.
Home carbonation and sparkling water
Home carbonation equipment uses pressurized carbon dioxide (CO2) to add bubbles to a drink. The critical choice is not simply manual versus electric operation. It is whether the system permits only water or is designed for other beverages, and which gas supply and pressure-rated bottle it accepts. Many water-only machines require flavoring after carbonation. Other designs can carbonate specified drinks directly, but require their own filling and pressure-release procedures. Bottles, gas connections, and operating limits are not universally interchangeable.
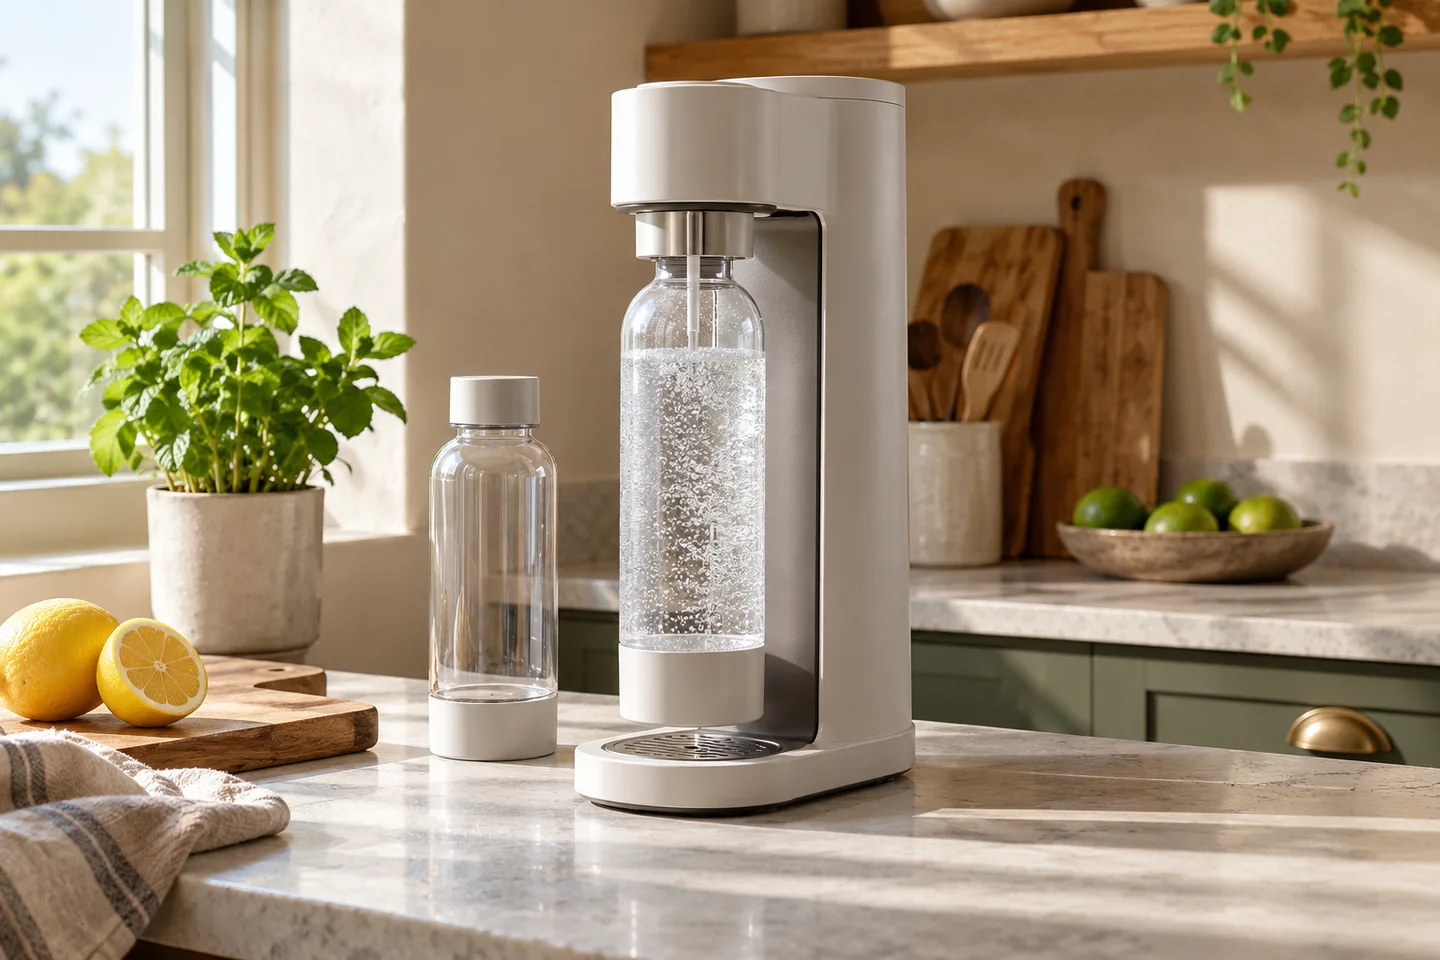
Main carbonation formats
| System | How carbonation is controlled | Supplies it uses | Practical difference |
|---|---|---|---|
| Manual countertop carbonator | You operate a button or lever to admit CO2 | Compatible refillable gas cylinder and carbonating bottle | No powered carbonation cycle is needed, but gas delivery is user-controlled |
| Electric countertop carbonator | Powered controls run the carbonation cycle, sometimes with selectable levels | Compatible gas cylinder, bottle, and electrical power | Less manual control during the cycle; system compatibility still determines supplies |
| Soda siphon with chargers | A small CO2 charger pressurizes a dedicated siphon that dispenses through a nozzle | Approved chargers, siphon vessel, seals, and fittings | Different serving mechanism and gas-supply format from a countertop cylinder machine |
The mechanism does not establish which liquids are allowed. Check the operating instructions for the exact carbonation device and bottle combination.
Confirm the bottle and gas system together
Carbonating bottles are pressure vessels, not ordinary drink bottles. The usable water or beverage fill line may be below the bottle's total capacity. A bottle that looks like the right size may still have the wrong neck, locking geometry, material approval, or pressure rating for a particular carbonator.
- Check the gas connection. Countertop machines may use different cylinder attachment systems. Match the specified connection and gas source rather than assuming any CO2 cylinder fits.
- Check bottle approval. Use only a pressure-rated bottle or carafe approved for that machine. Glass, plastic, and metal options are not automatically interchangeable.
- Check the working fill level. Compare the manufacturer's carbonating fill line, not only the nominal bottle volume, with the amount you want to prepare.
- Check replacement rules. Some plastic carbonating bottles carry expiration dates. Follow the applicable date, damage inspection, and cleaning restrictions for the exact bottle.
Water-only or direct beverage carbonation?
A water-only system is intended to carbonate plain water, with flavoring added afterward if desired. Carbonating syrup, juice, or other ingredients in such a system can create excessive foaming or pressure and can contaminate its internal gas path.
A system specifically approved for other beverages may handle juice, tea, or additional liquids, but foaming and pressure release become part of the procedure. Use only approved liquids, follow the specified fill level, and vent pressure exactly as instructed before opening. The existence of beverage-capable equipment does not make those liquids safe in a water-only machine.
Pressure and ownership checks
- Bottle condition: Do not carbonate with a damaged, deformed, recalled, or expired pressure bottle. Keep it away from heat and temperature extremes as directed by its manufacturer.
- Pressurized connections: Do not detach a bottle or open a vessel while it is still pressurized. Follow the system's release sequence and cylinder-change instructions.
- Cleaning: Wash bottles and removable parts only by the permitted method. Dishwasher approval and temperature limits depend on the bottle material and design.
- Gas supply: Consider how the approved cylinders are replaced or exchanged, or how the correct chargers are obtained. Actual gas use depends on serving volume and carbonation level.
- Preparation routine: Cold water and available refrigerator space can matter, especially when several bottles are prepared ahead. Check whether the machine carbonates directly into the container you intend to store.
Kegerators and chilled draft systems
A kegerator combines refrigerated keg storage with a beverage-dispensing system. The refrigeration cabinet is only one part: a working setup also needs a matching keg connection, regulated dispense gas where required, beverage tubing, and a faucet. Good draft service depends on temperature, gas pressure, line resistance, and sanitation working together. A regular beverage refrigerator does not become a safe, functioning draft system merely by adding a tap.
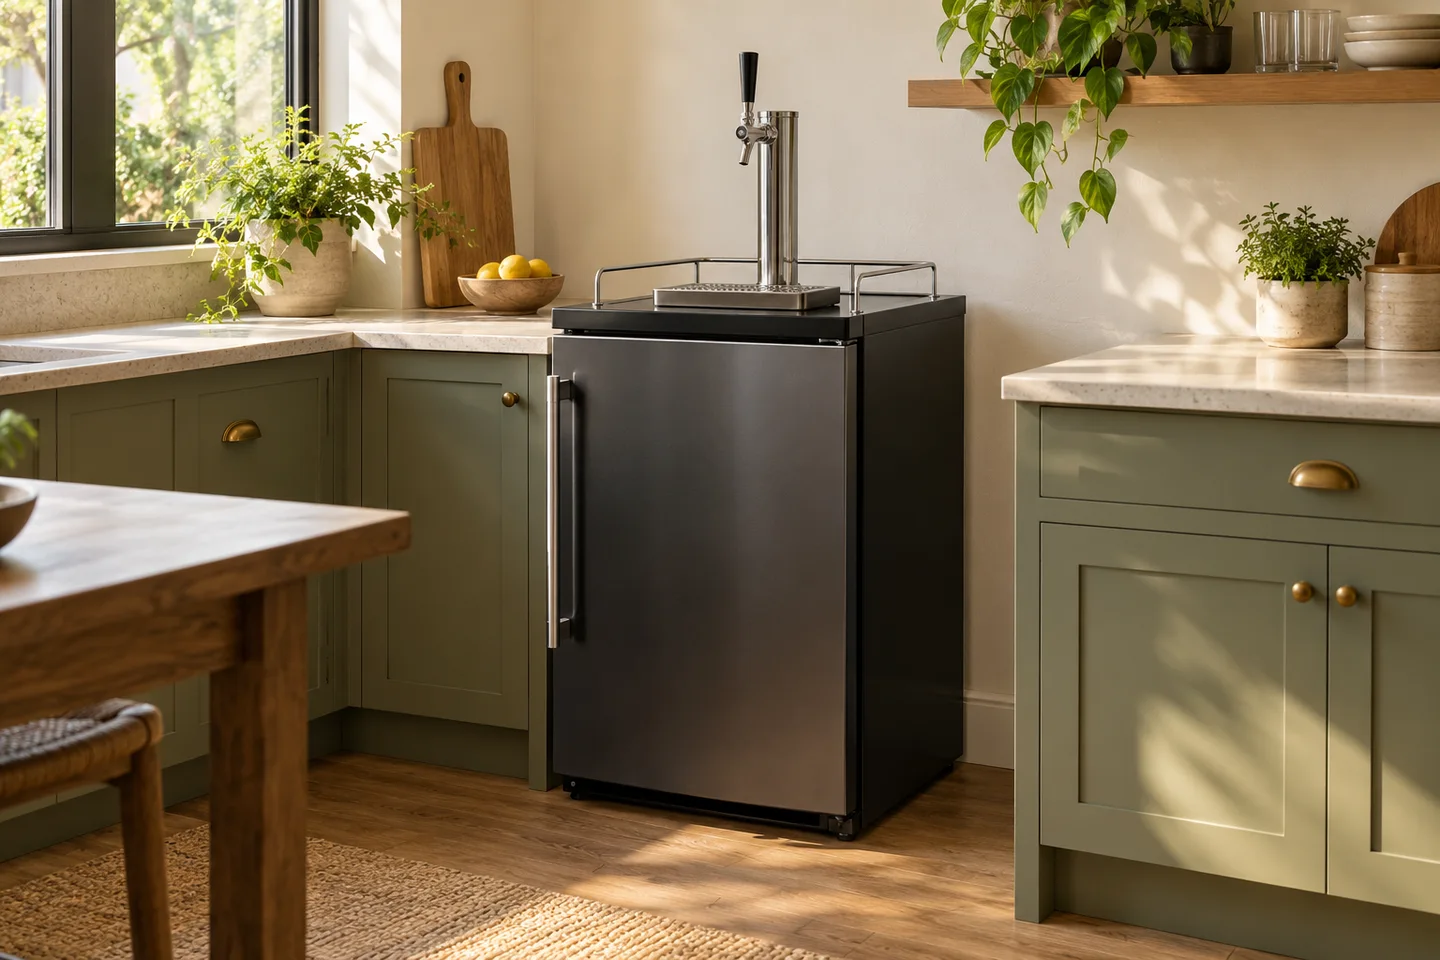
The parts of a complete draft setup
| Component | What it does | What must match |
|---|---|---|
| Refrigerated cabinet | Keeps the keg and nearby beverage path chilled | Keg dimensions, usable interior height, installation ventilation, and required holding temperature |
| Keg and coupler | Connects the keg valve to the gas and beverage lines | The keg's valve or connector type, including clearance above it |
| Gas supply and regulator | Delivers controlled dispense pressure | Beverage requirements, permitted gas type or mixture, regulator and relief components |
| Beverage and gas tubing | Carries gas to the keg and beverage to the tap | Food-contact suitability, fittings, line length, diameter, and system balance |
| Faucet and dispense tower | Controls the pour at the serving point | Connection size, access for cleaning, and any needed cooling of the dispense path |
| Drip tray and cleaning access | Collects spills and allows routine hygiene | Tray emptying or drainage and access to lines, coupler, and faucet |
Gas fittings and keg couplers are not interchangeable merely because they look similar. Some beverages require a different dispense gas or gas mixture from a typical carbonated draft system, so the kegged drink determines the gas and pressure requirements.
Freestanding versus built-in placement
Freestanding kegerators need the ventilation clearance specified for their cabinet. Some equipment is built for undercounter installation, with airflow designed for that enclosure. Do not assume a freestanding unit can be surrounded by cabinetry or that every built-in design vents in the same direction.
Check the complete installed footprint: door swing, keg loading path, faucet or tower height, cylinder location, hose routing, and access for maintenance. A keg may physically fit inside a cabinet but still lack the height needed for its coupler and connections.
Temperature and dispense pressure work together
Draft beverages need the holding temperature and dispense pressure appropriate to the beverage and system. Gas pressure moves the liquid, while resistance in the tubing and fittings affects its flow. If the beverage warms in the line or the system is poorly balanced, dispensing can become excessively foamy.
Do not treat increasing gas pressure as a universal cure for slow or foamy pours. Check refrigeration, beverage temperature, coupler fit, line condition, and the specified gas setup together. A long run from a remote keg to a faucet may need additional cooling that a compact, direct-draw cabinet does not.
Fit and upkeep before installation
- Measure the keg and coupling space. Confirm height, diameter, door access, and clearance for all attached fittings.
- Confirm the complete gas path. Use the specified cylinder or approved gas source, pressure regulator, relief provisions, and compatible connections. Never connect a high-pressure cylinder directly to a keg.
- Plan safe cylinder placement. Secure and handle pressurized CO2 equipment as instructed, provide appropriate ventilation, and treat a suspected gas leak as a reason to stop using the system.
- Plan line cleaning. Beverage residue and microorganisms can accumulate inside dispense lines and faucets. Follow equipment and beverage-specific cleaning guidance; strong line-cleaning chemicals require correct handling and thorough rinsing.
- Match the system to actual use. Consider how often a keg will be connected, how much beverage will be consumed, and whether the system can be cleaned and left safe between periods of use.
Capacity, space, and ownership tradeoffs
Capacity means different things across beverage appliances. A coffee maker may label a carafe in "cups," a single-serve machine offers selected drink volumes, a kettle has minimum and maximum water levels, and a carbonating bottle has a pressure-safe fill line below its total volume. A kegerator instead depends on the keg's physical dimensions and required fittings. Compare the actual servings you need, the room to operate the complete setup, and the supplies and maintenance it requires over time.
Compare the measurement that matters
| Appliance family | Capacity or fit measurement to check | Common misunderstanding |
|---|---|---|
| Batch coffee maker | Finished brew volume in fluid ounces or milliliters, plus supported minimum batch | A labeled carafe "cup" always equals your drinking mug |
| Single-serve brewer | Selectable serving volumes and water-reservoir capacity | A large reservoir means the machine brews a large drink at once |
| Espresso setup | Water tank, bean hopper where fitted, milk handling, and time needed between drinks | More water capacity alone means faster consecutive milk drinks |
| Kettle or tea maker | Minimum and maximum water fill, plus tea basket capacity if applicable | The maximum fill is equally practical for one small cup |
| Home carbonator | Approved carbonating fill line, compatible bottle, and gas supply | The bottle's total labeled volume is all available for carbonation |
| Kegerator | Keg diameter and height, coupler clearance, usable cabinet space, and gas-cylinder placement | Exterior cabinet volume proves a particular keg fits |
Compare quantities using stated units. Coffee-maker cup markings can represent smaller portions than ordinary household mugs, and capacity claims may refer to a reservoir rather than the amount dispensed in one cycle. The usable range matters more than a single maximum number.
Measure the full working footprint
- Start with width, depth, and height. Check the space with lids, hoppers, water-tank access, and doors in their normal open positions, not only the closed appliance dimensions.
- Allow room for the whole workflow. Include a grinder beside an espresso machine, milk pitcher and used-grounds area, removable tea infuser, or storage space for carbonating bottles.
- Respect heat and ventilation needs. Leave manufacturer-specified clearance around steam outlets, hot surfaces, and refrigerated cabinets. A unit that physically fits under a shelf may still be awkward or unsafe to operate there.
- Plan connections and service access. Check reachable electrical power, water filling, removable parts, tubing, and gas cylinders as relevant. Do not assume an appliance can be serviced entirely from the front.
Account for consumables and routine work
| Setup | Supplies or replacement parts to plan for | Recurring work |
|---|---|---|
| Filter or single-serve coffee | Compatible filters or capsules, coffee, and water-treatment supplies if required | Grounds or capsule disposal, washing, periodic mineral-scale care |
| Espresso and grinder | Beans or suitable ground coffee, milk if used, filters and cleaning supplies as specified | Puck disposal, grinder care, milk-path cleaning, drip-tray emptying |
| Kettle or tea maker | Tea filters or infusers where needed | Emptying tea leaves, cleaning the basket, descaling when necessary |
| Carbonation system | Approved CO2 cylinders or chargers and replacement bottles when required | Gas changes, bottle cleaning and inspection |
| Draft system | Compatible dispense gas, line-cleaning materials, seals or fittings as needed | Faucet and line hygiene, keg changes, temperature and gas checks |
No single running-cost figure applies to an appliance family. Consumable use depends on drink frequency, dose size, chosen system, and cleaning requirements. Compare the work and supplies you will actually repeat, especially when an integrated machine replaces several separate tools but adds its own maintenance steps.
Water, cleaning, and safe operation
Use fresh, potable water that meets the appliance's instructions, and clean the parts that actually touch the beverage. Mineral deposits, coffee oils, milk residue, tea leaves, and draft-line buildup are different problems: washing a removable basket does not descale a heater, and descaling does not replace cleaning milk tubing or a beer line. Follow the device's specified cleaning products and procedures rather than assuming one household solution works in every system.
Start with suitable water
Water affects both the drink and the appliance. Harder water can leave mineral scale inside heated water paths, while some espresso and coffee machines are not designed for water with almost no dissolved minerals. The correct filtration, hardness setting, or water type depends on the machine.
- For coffee, espresso, and tea: Use drinking-quality water and follow the device's filling instructions. Check whether its built-in filter needs replacement and whether it has a water-hardness setting.
- For mineral scale: A water filter may reduce deposits, but it does not make a machine permanently maintenance-free. Follow the maker's descaling alerts or instructions, considering the local water hardness and frequency of use.
- For reservoirs and tanks: Empty stale water and wash accessible removable containers as instructed. Do not put milk, syrup, cleaning concentrate, or other liquids into a water-only reservoir.
- For carbonating water: Use the liquid permitted by the device and fill only to the marked carbonating level. Water quality does not change bottle pressure limits.
Clean the parts that contact the drink
| Equipment | Where residue collects | Appropriate care approach |
|---|---|---|
| Drip, pour-over, immersion, and cold-brew equipment | Filters, baskets, carafes, mesh, and brewing vessels | Remove grounds, wash reusable beverage-contact parts, rinse, and allow them to dry according to their care instructions |
| Espresso machine and milk system | Portafilter, group area, drip tray, steam wand, milk container, and tubing | Discard the puck, clean coffee-contact parts, and wipe and purge a steam wand immediately after milk use as directed; follow the specific milk-system cleaning cycle |
| Coffee grinder | Burr chamber, chute, and grounds container | Disconnect power before the specified internal cleaning; remove grounds with approved tools and keep non-washable components dry |
| Kettle and automatic tea maker | Vessel interior, lid, spout, and tea infuser | Empty leaves, wash removable infusers, and descale the heated vessel by its approved procedure |
| Carbonation equipment | Bottle, cap, seal, drip area, and approved beverage-contact fittings | Wash only by the bottle's permitted method; check whether each part is dishwasher-safe and inspect seals and bottle condition |
| Kegerator and draft equipment | Faucet, coupler, and beverage lines | Use the prescribed line-cleaning and rinsing procedure, with appropriate chemical-handling precautions or qualified servicing |
Milk-contact parts need prompt attention because milk residue can spoil and build up inside narrow passages. Keep milk and other perishable additions refrigerated when they are not being prepared or served. Do not leave a milk container attached at room temperature simply because the machine can make another drink later.
Washing, descaling, and draft-line cleaning are different jobs
- Washing removes visible grounds, oils, milk residue, and tea deposits from suitable parts. Check whether components may be submerged or placed in a dishwasher.
- Descaling removes mineral buildup from the water-heating circuit. Use only the cleaner, dilution, cycle, and rinsing sequence approved for that appliance. Vinegar is not a universal substitute for a specified descaler.
- Draft-line cleaning requires correctly selected chemicals, contact conditions, protective handling, and verified rinsing before beverages are served again. If the procedure is unfamiliar, use a qualified draft-system service provider rather than improvising with strong cleaners.
Handle heat, electricity, and pressure safely
- Before disassembly, stop and secure the device. Switch off and unplug electrical equipment before user-serviceable cleaning unless its instructions require an energized cleaning cycle. Let hot water, heaters, and removable parts cool before handling, except for immediate steam-wand wiping and purging performed as directed after milk use.
- Keep electrical and pressure components out of wash water. Never immerse a powered base, motor, or electrical assembly unless it is explicitly designed for that treatment. Do not loosen pressurized gas fittings or remove a carbonating bottle before the specified pressure-release sequence is complete.
- Inspect before reuse. Stop using equipment with a damaged cord, leaking hot-water path, unreliable handle, damaged pressure bottle, or suspect CO2 connection. Keep gas cylinders secured and follow the system's ventilation and handling requirements.
- Finish the cleaning cycle fully. Reassemble only when parts are correctly cleaned, rinsed, and installed. Never dispense a drink through a draft line that may still contain cleaning solution.
The simplest maintenance plan follows the liquid path: water supply, heating or extraction components, beverage-contact surfaces, and dispensing hardware. Check each one at the interval and by the method specified for the equipment you own.